Understanding the roles of Workload Identities, Cluster Service Accounts, IAM Policies, and IAM Roles in managing access controls within AWS environments.
Exploring real-world use cases to illustrate the importance of effective IAM policy management in securing multi-tenant environments and aligning access controls with business requirements.
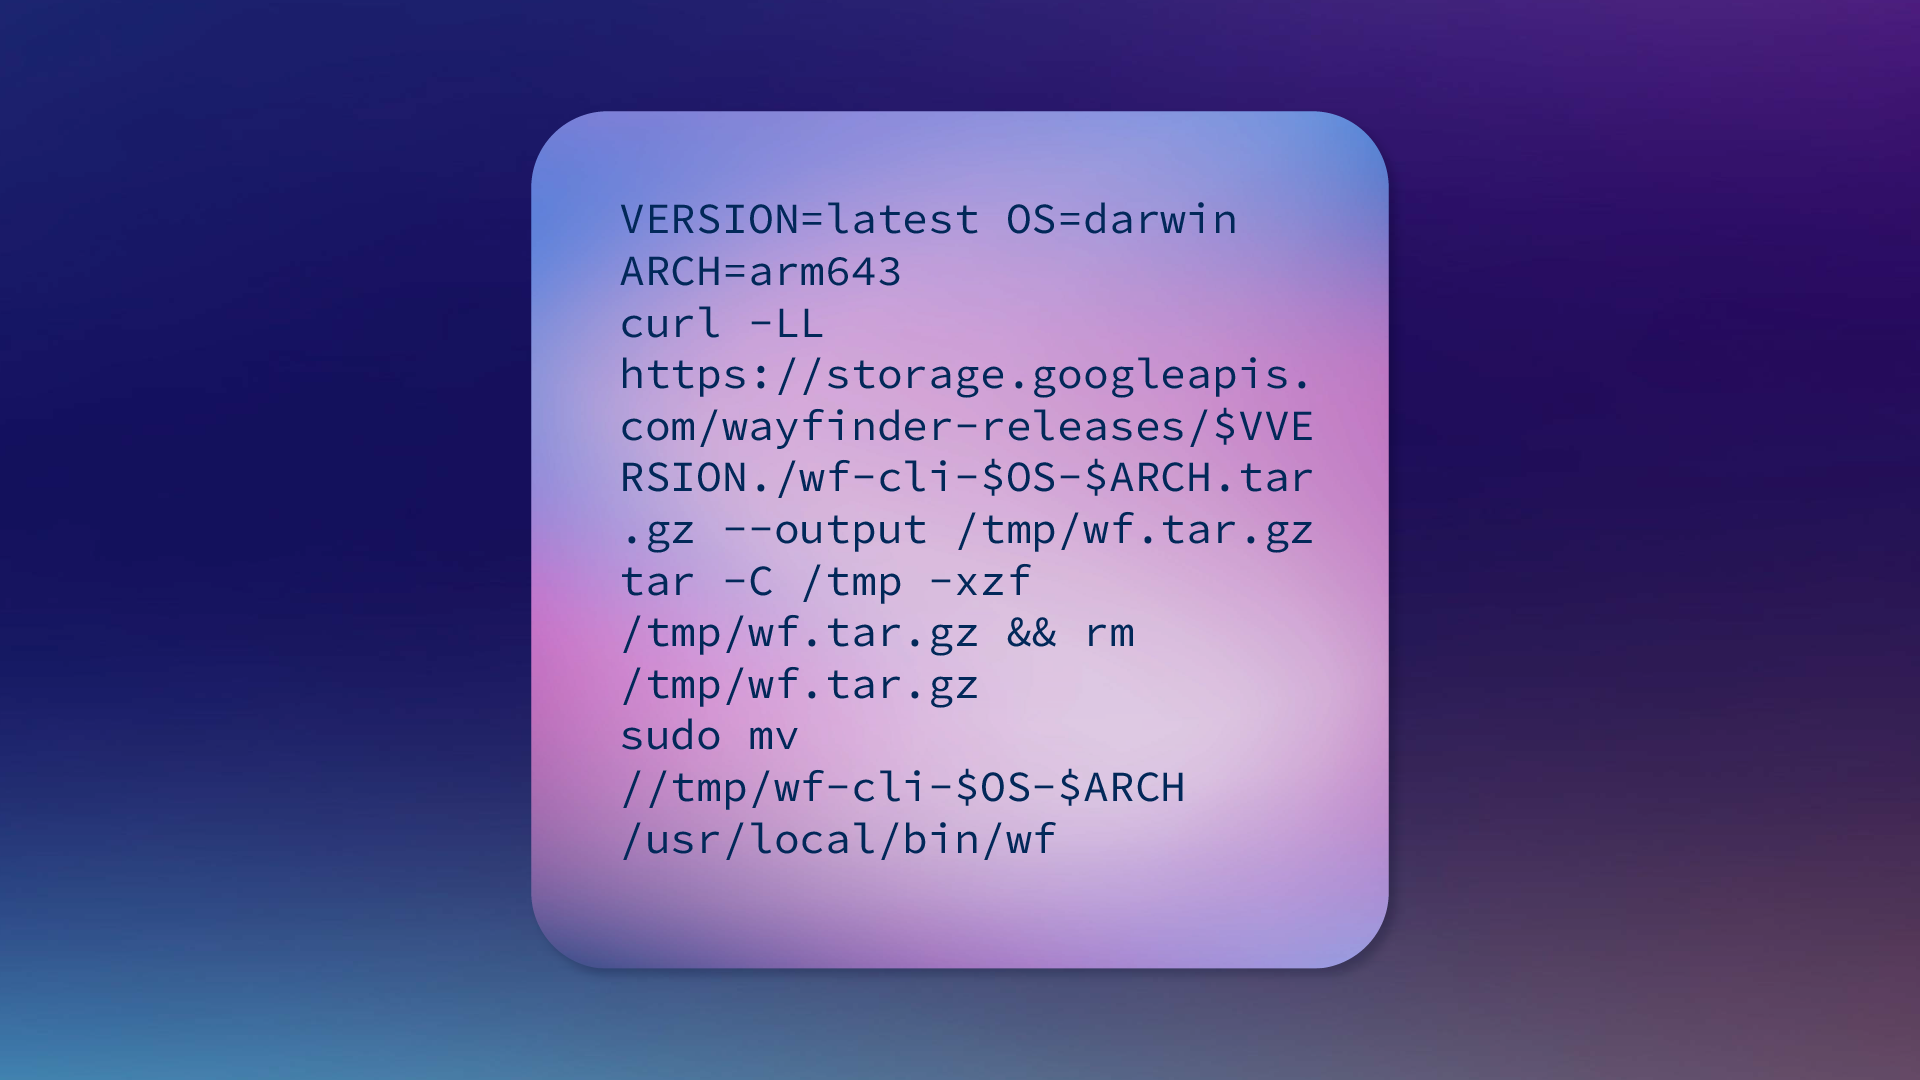
Comparing manual IAM policy management with streamlined approaches, such as Wayfinder's Package Workload Identities, to highlight the benefits of automation and centralised policy management.
A production-ready application needs to be discoverable and accessible over a secure endpoint, and it can be both complex and time consuming to implement a solution that is easy to consume, maintain and scale. This tutorial brings a few tools together to publish your Kubernetes applications securely, and offers up an easier solution to reduce some of these complexities.
Browsers often mark non-HTTPS websites as insecure, which could have a negative impact on the reputation or trust of your website/application. That's just one very good reason why you should use HTTPS. Ultimately, it's more secure and more trustworthy.
What we're using in this tutorial…
You’ll find the accompanying code for this post at github.com/appvia/How-to-expose-a-Kubernetes-web-application-with-DNS-and-TLS.
We’ll start with a vanilla Amazon EKS cluster, which we can automate with some terraform magic to provide a 3 node cluster.
Then apply that with terraform:
// ./main.tf
provider "aws" {}
data "aws_vpc" "default" {
default = true
}
data "aws_subnet_ids" "default" {
vpc_id = data.aws_vpc.default.id
}
module "eks" {
source = "terraform-aws-modules/eks/aws"
cluster_name = "appvia-dns-tls-demo"
cluster_version = "1.19"
subnets = data.aws_subnet_ids.default.ids
write_kubeconfig = true
vpc_id = data.aws_vpc.default.id
enable_irsa = true
workers_group_defaults = {
root_volume_type = "gp2"
}
worker_groups = [
{
name = "worker-group"
instance_type = "t3a.small"
asg_desired_capacity = 3
}
]
}
data "aws_eks_cluster" "cluster" {
name = module.eks.cluster_id
}
data "aws_eks_cluster_auth" "cluster" {
name = module.eks.cluster_id
}
provider "kubernetes" {
host = data.aws_eks_cluster.cluster.endpoint
cluster_ca_certificate = base64decode(data.aws_eks_cluster.cluster.certificate_authority.0.data)
token = data.aws_eks_cluster_auth.cluster.token
}
$ terraform init
Initializing modules...
[...]
Terraform has been successfully initialized!
$ terraform apply
[...]
Apply complete! Resources: 27 added, 0 changed, 0 destroyed.
Terraform will helpfully provide a kubeconfig file for you to use with kubectl, you can set that to be used for your terminal session without effecting any other configuration you have already set up. By default its name is based on the cluster name, so in the case of our example it's:
./kubeconfig_appvia-dns-tls-demo
export KUBECONFIG=${PWD}/kubeconfig_appvia-dns-tls-demo
When you want to get back to your Kubernetes config:
unset KUBECONFIG
Test that everything is working:
$ kubectl get pods -A -o wide
NAMESPACE NAME READY STATUS RESTARTS AGE IP NODE NOMINATED NODE READINESS GATES
kube-system aws-node-qscpx 1/1 Running 0 18m 172.31.12.14 ip-172-31-12-14.eu-west-2.compute.internal <none><none>
kube-system aws-node-t5qp5 1/1 Running 0 17m 172.31.40.85 ip-172-31-40-85.eu-west-2.compute.internal <none><none>
kube-system aws-node-zk2gj 1/1 Running 0 18m 172.31.31.122 ip-172-31-31-122.eu-west-2.compute.internal <none><none>
kube-system coredns-6fd5c88bb9-5f72v 1/1 Running 0 21m 172.31.26.209 ip-172-31-31-122.eu-west-2.compute.internal <none><none>
kube-system coredns-6fd5c88bb9-zc48s 1/1 Running 0 21m 172.31.8.192 ip-172-31-12-14.eu-west-2.compute.internal <none><none>
kube-system kube-proxy-647rk 1/1 Running 0 18m 172.31.12.14 ip-172-31-12-14.eu-west-2.compute.internal <none><none>
kube-system kube-proxy-6gjvt 1/1 Running 0 18m 172.31.31.122 ip-172-31-31-122.eu-west-2.compute.internal <none><none>
kube-system kube-proxy-6lvnn 1/1 Running 0 17m 172.31.40.85 ip-172-31-40-85.eu-west-2.compute.internal <none><none>
$ kubectl get nodes
NAME STATUS ROLES AGE VERSION
ip-172-31-12-14.eu-west-2.compute.internal Ready <none> 17m v1.19.6-eks-49a6c0
ip-172-31-31-122.eu-west-2.compute.internal Ready <none> 17m v1.19.6-eks-49a6c0
ip-172-31-40-85.eu-west-2.compute.internal Ready <none> 17m v1.19.6-eks-49a6c0
You should see a few pods running and three ready nodes.
We're going to use external-dns to configure a route53 zone for you, external-dns assumes that you've already got a hosted zone in your account that you can use. Mine's set up for sa-team.teams.kore.appvia.io so that I can publicly resolve anything.sa-team.teams.kore.appvia.io.
To let external-dns make changes to the route53 zone, we can do that with an IAM role and attach that to a service account.
Then apply that:
$ terraform apply
[...]
Apply complete! Resources: 1 added, 0 changed, 0 destroyed.
You'll see that it's bound to a service account called external-dns in the the external-dnsnamespace.
Now, let's test that all of that works as it should. First, check the current state:
$ kubectl run -i --restart=Never --image amazon/aws-cli $(uuid) -- sts get-caller-identity
{
"UserId": "AROARZYWN37USPQWOL5XC:i-0633eb78d38a31643",
"Account": "123412341234",
"Arn": "arn:aws:sts::123412341234:assumed-role/appvia-dns-tls-demo20210323123032764000000009/i-0633eb78d38a31643"
You'll see the UserId and Arn have have an i-... in, which is the node instance (this won't have access to much).
Now, make an outputs.tf to provide an easy way to get the AWS account ID. Refresh the terraform state and create the namespace and service account:
$ terraform refresh
[...]
Outputs:
aws_account_id = "123412341234"
$ kubectl create namespace external-dns
namespace/external-dns created
$ kubectl create -n external-dns serviceaccount external-dns
serviceaccount/external-dns created
$ kubectl annotate serviceaccount -n external-dns external-dns eks.amazonaws.com/role-arn=arn:aws:iam::$(terraform output -raw aws_account_id):role/externaldns_route53
serviceaccount/external-dns annotated
$ kubectl run -i -n external-dns --restart=Never --image amazon/aws-cli $(uuid) -- sts get-caller-identity
{
"UserId": "AROARZYWN37USAHEEKT35:botocore-session-1123456767",
"Account": "123412341234",
"Arn": "arn:aws:sts::123412341234:assumed-role/externaldns_route53/botocore-session-1123456767"
}
Notice how the Arn has assumed-role/externaldns_route53 in it to show that you've successfully assumed the role.
Deploy external-dns:
$ kubectl -n external-dns apply -k "github.com/kubernetes-sigs/external-dns/kustomize?ref=v0.7.6"
serviceaccount/external-dns configured
clusterrole.rbac.authorization.k8s.io/external-dns created
clusterrolebinding.rbac.authorization.k8s.io/external-dns-viewer created
deployment.apps/external-dns created
We need to patch the default configuration, so start by creating ak8s/external-dns/deployment.yaml:
Then apply the patch:
>$ kubectl -n external-dns patch deployments.apps external-dns --patch-file k8s/external-dns/deployment.yaml
deployment.apps/external-dns patched
The configuration above will set external-dns to look for hostnames in the ingress configuration and create a record for them that points to the ingress controller's load balancer.
We're going to use ingress-nginx to get us going. Other ingress options are available - you might want to consider other options depending on your specific needs; see comparison of Kubernetes Ingress controllers.
Now, deploy ingress-nginx. This configuration is set up to request an Amazon Elastic Network Load Balancer and attach it to the ingress controller:
$ kubectl apply -k "github.com/kubernetes/ingress-nginx.git/deploy/static/provider/aws?ref=controller-v0.44.0"
namespace/ingress-nginx created
validatingwebhookconfiguration.admissionregistration.k8s.io/ingress-nginx-admission created
serviceaccount/ingress-nginx-admission created
serviceaccount/ingress-nginx created
role.rbac.authorization.k8s.io/ingress-nginx-admission created
role.rbac.authorization.k8s.io/ingress-nginx created
clusterrole.rbac.authorization.k8s.io/ingress-nginx-admission created
clusterrole.rbac.authorization.k8s.io/ingress-nginx created
rolebinding.rbac.authorization.k8s.io/ingress-nginx-admission created
rolebinding.rbac.authorization.k8s.io/ingress-nginx created
clusterrolebinding.rbac.authorization.k8s.io/ingress-nginx-admission created
clusterrolebinding.rbac.authorization.k8s.io/ingress-nginx created
configmap/ingress-nginx-controller created
service/ingress-nginx-controller-admission created
service/ingress-nginx-controller created
deployment.apps/ingress-nginx-controller created
job.batch/ingress-nginx-admission-create created
job.batch/ingress-nginx-admission-patch created
This works totally out the box, but you might need to scale the deployment if you want some resilience. Let's go with three replicas for now:
$ kubectl scale -n ingress-nginx --replicas=3 deployment ingress-nginx-controller
deployment.apps/ingress-nginx-controller scaled
Now we need to deploy cert-manager:
cert-manager is going to handle populating a secret, adjacent to our ingress configuration, with a valid TLS certificate that we're going to configure to come from Lets Encrypt using the ACME protocol though cert-manager which supports a number of different issuer types:
$ kubectl apply -f https://github.com/jetstack/cert-manager/releases/download/v1.2.0/cert-manager.yaml
customresourcedefinition.apiextensions.k8s.io/certificaterequests.cert-manager.io created
customresourcedefinition.apiextensions.k8s.io/certificates.cert-manager.io created
customresourcedefinition.apiextensions.k8s.io/challenges.acme.cert-manager.io created
customresourcedefinition.apiextensions.k8s.io/clusterissuers.cert-manager.io created
customresourcedefinition.apiextensions.k8s.io/issuers.cert-manager.io created
customresourcedefinition.apiextensions.k8s.io/orders.acme.cert-manager.io created
namespace/cert-manager created
serviceaccount/cert-manager-cainjector created
serviceaccount/cert-manager created
serviceaccount/cert-manager-webhook created
clusterrole.rbac.authorization.k8s.io/cert-manager-cainjector created
clusterrole.rbac.authorization.k8s.io/cert-manager-controller-issuers created
clusterrole.rbac.authorization.k8s.io/cert-manager-controller-clusterissuers created
clusterrole.rbac.authorization.k8s.io/cert-manager-controller-certificates created
clusterrole.rbac.authorization.k8s.io/cert-manager-controller-orders created
clusterrole.rbac.authorization.k8s.io/cert-manager-controller-challenges created
clusterrole.rbac.authorization.k8s.io/cert-manager-controller-ingress-shim created
clusterrole.rbac.authorization.k8s.io/cert-manager-view created
clusterrole.rbac.authorization.k8s.io/cert-manager-edit created
clusterrolebinding.rbac.authorization.k8s.io/cert-manager-cainjector created
clusterrolebinding.rbac.authorization.k8s.io/cert-manager-controller-issuers created
clusterrolebinding.rbac.authorization.k8s.io/cert-manager-controller-clusterissuers created
clusterrolebinding.rbac.authorization.k8s.io/cert-manager-controller-certificates created
clusterrolebinding.rbac.authorization.k8s.io/cert-manager-controller-orders created
clusterrolebinding.rbac.authorization.k8s.io/cert-manager-controller-challenges created
clusterrolebinding.rbac.authorization.k8s.io/cert-manager-controller-ingress-shim created
role.rbac.authorization.k8s.io/cert-manager-cainjector:leaderelection created
role.rbac.authorization.k8s.io/cert-manager:leaderelection created
role.rbac.authorization.k8s.io/cert-manager-webhook:dynamic-serving created
rolebinding.rbac.authorization.k8s.io/cert-manager-cainjector:leaderelection created
rolebinding.rbac.authorization.k8s.io/cert-manager:leaderelection created
rolebinding.rbac.authorization.k8s.io/cert-manager-webhook:dynamic-serving created
service/cert-manager created
service/cert-manager-webhook created
deployment.apps/cert-manager-cainjector created
deployment.apps/cert-manager created
deployment.apps/cert-manager-webhook created
mutatingwebhookconfiguration.admissionregistration.k8s.io/cert-manager-webhook created
validatingwebhookconfiguration.admissionregistration.k8s.io/cert-manager-webhook created
We need to create a couple of issuers, we're going to use Lets Encrypt HTTP-01.
Replace the user@example.com with your email address in both issuers, this allows Lets Encrypt to send you email notifications if your certificate is due to expire and hasn't been automatically renewed or removed:
Then apply that:
$ kubectl apply -f ./k8s/cert-manager/issuers.yaml
clusterissuer.cert-manager.io/letsencrypt-prod created
clusterissuer.cert-manager.io/letsencrypt-staging created
We're going to deploy a three replica simple helloworld application with a Service and an Ingress.
Change the references to dns-tls-demo.sa-team.teams.kore.appvia.ioto something within your zone, in line with what you did in the external-dns configuration.
This will cause external-dns to create a record in your route53 zone to point to the ingress-nginx) controller's network load balancer and cert-manager to retrieve a valid certificate for that.
You can test this all with:
$ nslookup dns-tls-demo.sa-team.teams.kore.appvia.io
Server: 1.1.1.1
Address: 1.1.1.1#53
Name: dns-tls-demo.sa-team.teams.kore.appvia.io
Address: 18.135.204.171
$ curl https://dns-tls-demo.sa-team.teams.kore.appvia.io
<!DOCTYPE html>
<html>
<head>
<title>Hello World</title>
[...]
</body>
</html>
The order you destroy things is REALLY IMPORTANT to not leave orphaned resources behind that could be costly. For example, if you terraform destroy before removing the ingress configuration and ingress-nginx you'll likely leave behind both a route53 A record, which if you're creating and destroying regularly could incur costs if you end up with over 10,000 records (which will happen faster than you think). And also a Load Balancer which could cost just under $30/month.
To do it in order:
$ kubectl delete ingress --all -A
ingress.extensions "helloworld" deleted
$ kubectl delete namespaces ingress-nginx
namespace "ingress-nginx" deleted
$ terraform state rm module.eks.kubernetes_config_map.aws_auth #workaround https://github.com/terraform-aws-modules/terraform-aws-eks/issues/1162
Removed module.eks.kubernetes_config_map.aws_auth[0]
Successfully removed 1 resource instance(s).
$ terraform destroy -force
[...]
Destroy complete! Resources: 27 destroyed.
$ unset KUBECONFIG
With the amount of effort involved in doing this there are plenty of pitfalls and risks (specifically orphaned resource cost) that will likely mean most teams will end up with a long lived snowflake setup (aka a pet) ... but you thought you were doing devops.
Kore Operate is an answer to this struggle - managing the complexity of the services that help in securing and exposing applications, in addition to providing a UI to create an ingress API object, making it easy for devs.


